×

Why We Need to Be Wild: Book Review and Reflection
“It’s a fox!” Not a live fox, but a furry orange lump lying on the side of the highway, eagerly (and illegally) rescued from its irreverent roadside...

Slowly, nature nudges toward an incredible seasonal shift. The weather cools, nights grow longer, and deciduous trees know the time has finally come. My children notice the first signs of turning—a singed edge here, a yellow leaf there, or a rogue red maple leaf on the front lawn—and then, seemingly overnight, it happens. Trees erupt in a flame of autumnal reds, oranges, and yellows, painting the landscape in a rainbow of warmth before the cold days ahead.
Every autumn, my children and I race against time to preserve some of this fleeting magic. We press leaves for crafts, dip them in beeswax to make garlands, and scatter them on our nature table and throughout our home. Inevitably, however, the leaves release their brilliant hues like a final breath, fading into muted remnants before finding their way to the compost.
Recently, though, we discovered a more lasting way to preserve fall’s beauty: air dry leaf bowls. With just a bit of clay, paint, and freshly gathered leaves, we can capture the colors and textures of autumn in bowls that double as keepsakes and seasonal treasures for our home.
This post contains affiliate links. As an Amazon Associate, I earn from qualifying purchases. This comes at no extra cost to you and helps support Backwoods Mama.

Air dry autumn leaf bowls are a wonderfully simple way to preserve the beauty of fall leaves while adding a handmade touch to your home. This kid-friendly craft blends nature and art, and it’s both affordable and easy to do with just a few supplies. Air dry clay is widely available at craft stores or online—two popular options are Crayola Air-Dry Clay and DAS clay. Once made, these sweet bowls can be displayed on a seasonal nature table, set out as autumn décor, or filled with little forest treasures gathered on crisp fall walks.
Air dry autumn leaf bowls are simple yet deeply satisfying to create. While little hands may need help cutting around the shape of the leaf, children can still take part in gathering leaves, rolling out the clay, and, of course, painting the finished bowls. Below you’ll find a step-by-step guide for making these lovely bowls, along with helpful tips for choosing supplies and ensuring your project is a success.

Even the best crafts can run into a few bumps along the way. If your air dry leaf bowls give you a little trouble, here are some simple fixes to keep things on track:
Clay splitting or cracking while rolling: If the clay starts to split, it likely needs more kneading. Mash it together and knead for a few minutes. If it feels too dry, wet your hands slightly and work a little moisture into the clay.
Finished bowl breaking after drying: It’s always disappointing when a bowl cracks. This usually happens if the clay was rolled too thin—remember to keep it at least ¼ inch thick (a little thicker is even better). Rough handling can also cause breaks, so be gentle. If a crack does appear, a dab of super glue can repair it, and once painted, the seam will hardly show.
Clay sticking to the work surface: To prevent this, clean your surface between each leaf creation or place a sheet of parchment paper underneath the clay.
Rough or uneven edges: If your leaf bowl feels jagged once dry, smooth it out with a small piece of sandpaper before painting.
Once complete, encourage your little ones to fill the bowls with pinecones, nuts, or other treasures from the forest floor. Whether you use them as seasonal centerpieces, on a nature table, or as small decorative accents around the home, air dry leaf bowls are a simple way to hold onto autumn’s beauty a little longer.

Once your air dry leaf bowls are complete, the fun really begins. These little treasures are as versatile as they are beautiful. You can fill them with pinecones, acorns, or chestnuts to create a simple nature table display, or use them as seasonal centerpieces on your dining table. They also make thoughtful handmade gifts for family and friends. If you’re looking for a more elegant touch, try painting your bowls with metallic shades of gold, copper, or bronze to bring a warm autumn glow to your décor.
Can kids make autumn leaf bowls?
Absolutely! Kids love gathering leaves, rolling the clay, and painting their finished creations. Just be sure that adults or older children handle the cutting, since sharp knives are part of the process.
Do I need to seal the bowls?
For decorative use, sealing isn’t necessary. If you’d like a little extra durability, you can brush on a clear acrylic sealant once the paint has dried.
Can I use oven-bake clay instead of air dry clay?
Yes, oven-bake clay will also work for this project. Just follow the baking instructions carefully to avoid cracking, and remember that air dry leaf bowls tend to be the easiest option for crafting with kids.
Are these bowls fragile?
Yes, air dry leaf bowls are more delicate than ceramic or oven-baked clay. They’ll hold up well for seasonal displays and gentle use, but they can chip or crack if handled roughly. Think of them as decorative treasures.

✨ Looking for more ways to connect your family with nature? My book, Beyond the Front Door: Embracing Nature for Healthier and Happier Families, is packed with seasonal activities, inspiration, and simple ways to bring the outdoors into everyday life. Coming February 2026 — stay tuned for updates!
Gather some autumn leaves, a bit of clay, and see what you can create. These bowls are simple, beautiful, and a wonderful way to hold onto the season’s magic.
Share your creations—tag @thebackwoodsmama on Instagram or TikTok, or add a note in the comments below. I love seeing what you make!

“It’s a fox!” Not a live fox, but a furry orange lump lying on the side of the highway, eagerly (and illegally) rescued from its irreverent roadside...
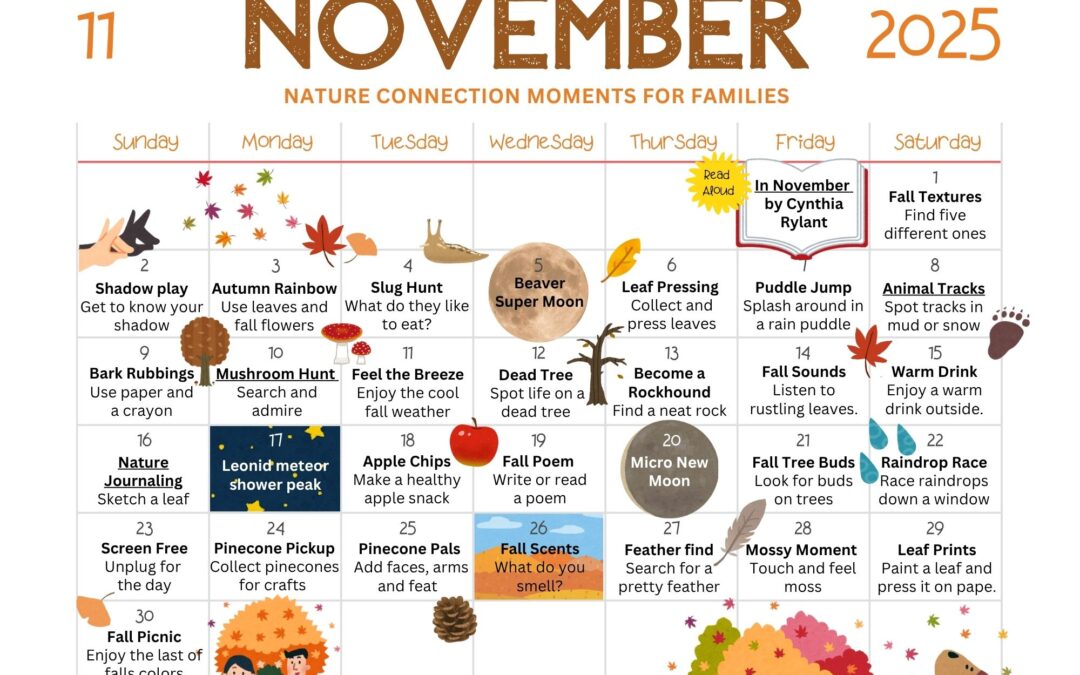
Hello, November! November holds a special place in my heart. It used to be one of my least favorite months, the beauty of early fall fading, the...
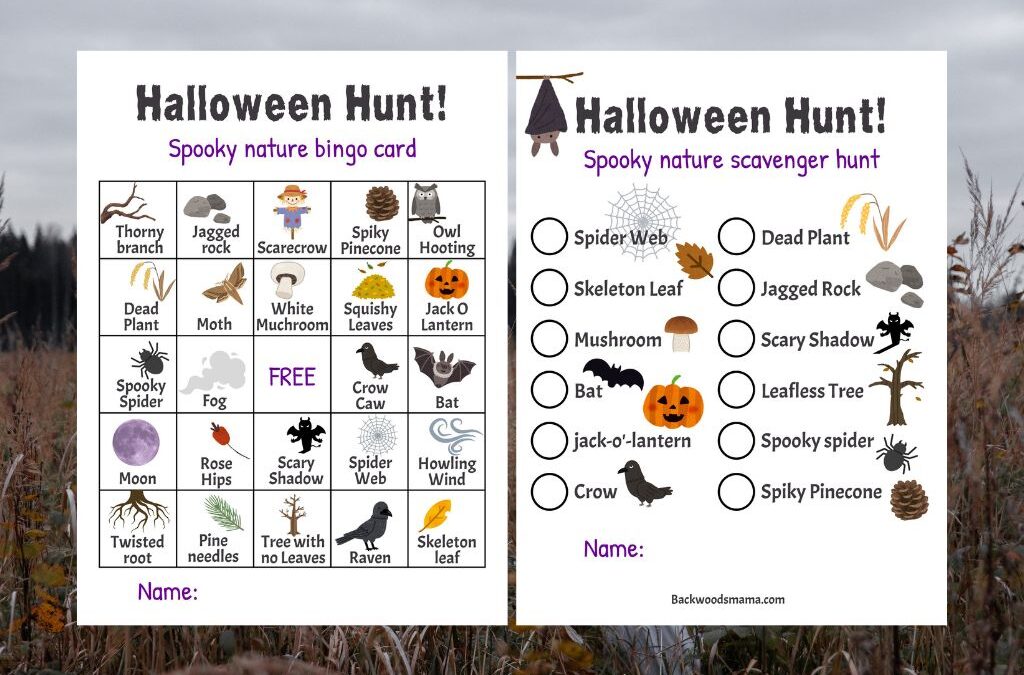
Halloween is here, along with all the spooky, magical things happening in nature as fall deepens. Spiders creep into cozy corners, webs glisten...
0 Comments